Diagnosing recurring kernel panic can be difficult and may require some technical skills or at least advanced macOS knowledge. But before you rush off to get an appointment with a Genius at an Apple Store or an Apple-Authorized Service Provider, the first thing to consider is recording the date and time and any other relevant information related to the kernel panic message, including the circumstances of the fault.
Knowing whether the computer was starting up, shutting down, or performing a particular task while the kernel panic kicked in is important, as is whether the panic is intermittent or if it is triggered by the use of a certain device or port. Any of this will help both you and a professional help in solving the problem.
Again, this isn’t something that the average Mac user would get into, but if you have the time and nerves to get into it then isolating the cause of the issue will help you in the troubleshooting process and can ultimately help you skip a visit to the Apple Store.
In fact, if the problem is significant then it’s pretty easy to realize whether or not the kernel panic kicks in because of a hardware issue. Just start the Mac in Recovery Mode and if the computer ‘presses the red button’ and forces itself to shut down then you’ll know that the panic is caused by faulty hardware.

If the computer continues to work then this means you will need to continue your ‘exploration’ to somehow identify the cause of the issue. Apple recommends using Disk Utility in macOS Recovery and its “Repair Disk” functionality to identify and repair potential problems related to the startup disk. However, the possibility of failing to repair the disk still is there.

After ensuring that the external drive isn’t causing the kernel panic, connect it to the Mac and make sure that it’s the only hardware connected to that port. After installing an up-to-date macOS on this external hard drive and starting your Mac from that same drive, it is recommended that you use the computer without any third party apps, especially those that you remember using since the kernel panic has been occurring. If the panic occurs again then you have successfully identified that it’s a hardware problem. If not, then it’s a software problem.
Software causing kernel panic is both good and bad news. The good news is that the cost of repairing the issue is lower because the expensive internal hardware is still intact. However, figuring out which software is causing the panic (and this is the bad news) is going to take quite some time.
If you have found that faulty hardware is the cause of the kernel panic, it’s alright to take a deep breath and start counting your savings. But before you check your credit card balance, make sure that the faulty hardware isn’t any of the peripherals connected to the Mac.
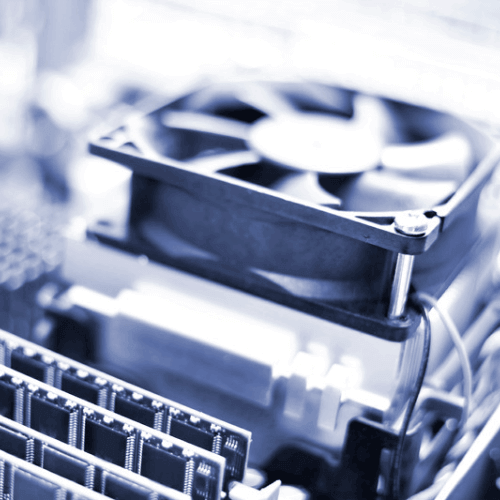
It’s also worth checking whether it’s the RAM that’s causing the system to panic. To do so, turn off your Mac and take the RAM modules out (if applicable, check models here) and reseat them. If the kernel panic doesn’t occur at this point then the third party RAM may need to replaced.
It’s best to start off by backing up your Mac to Time Machine or whatever backup service you use, because the best way to eliminate the software issue is to reformat the Mac’s startup disk and reinstall macOS. To do this just choose to reinstall macOS, but if you are looking for a 100% success rate then formatting the disk and reinstalling the operating system is the route that we recommend. It takes time but it will be well worth the effort because the Mac will be completely refreshed and optimized. From here start downloading and installing third party apps after that, but make sure that the apps are up to date otherwise you’ll be back where you started.
Share your thoughts, ask questions, and connect with other users. Your feedback helps our community make better decisions.
©2012-2026 Best Reviews, a clovio brand –
All rights
reserved